Website setup

Themes
Dark
Copyright
Copyright © 2026, Layten, All Rights Reserved
Copyright © 2026, Layten, All Rights Reserved
Give your Minecraft server a unique identity with a custom server icon that players can easily recognize.
Adding a custom server icon is simple. You only need to make sure your image follows Minecraft's required format and then upload it to your server files.
Before uploading your image, make sure it follows these three simple rules.

First, check whether your image is already 64×64 pixels.
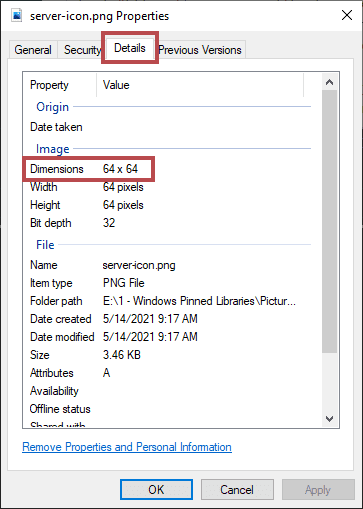
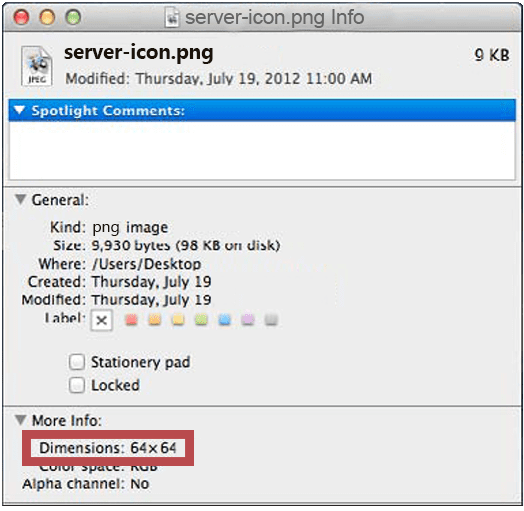
If your image isn't 64×64 pixels, you can resize it before uploading it to your server.
You can use an online image resizing tool to quickly convert your image to the correct dimensions.
Open Image Resizer →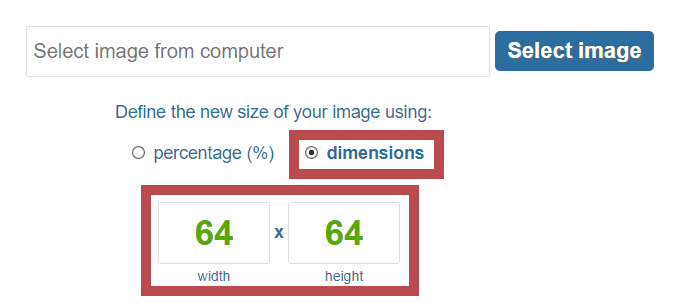
After resizing your image, make sure the file follows Minecraft's naming convention.
Correct file name: server-icon.png
If the image isn't already a PNG file, select PNG as the file format when saving it.
The final file should therefore be:
64 × 64 pixels · PNG format
Once your image is correctly formatted, upload it directly to your Minecraft server files.
Open your Minecraft server management panel and navigate to the server's file manager.

Upload the file named server-icon.png directly into the main directory of your Minecraft server.
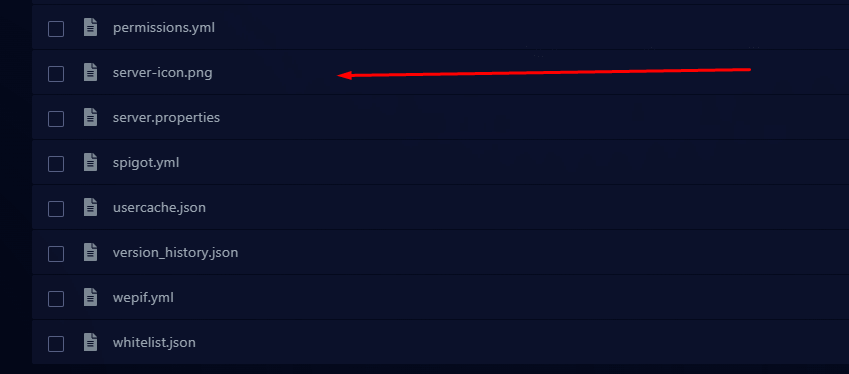
Important: The file must be located in the main server directory alongside files such as server.properties.
Once the image has been uploaded correctly, restart your Minecraft server if necessary. Your custom icon should now appear in the Minecraft server list.
Explore Layten Hosting →